Homeowner field guide • 2 minute read
Chimney Leak First-Response and Repair Guide
Protect the home, document the water path and compare diagnosis-led repair scopes without guessing from the stain.
By Chimney Sweep USA Online editorial team · Updated · Prepared with AI assistance; no professional technical review claimed.
Address immediate electrical or structural risk
If water is contacting electrical equipment, ceilings are bulging or masonry appears unstable, keep people away and contact the appropriate emergency or building professional. Do not climb onto a wet roof or chimney. Place a container only where it can be done safely and protect belongings from the area below. An active hazard needs local help; a webpage cannot assess stability or electrical risk.
Build a rain-event record
From safe locations, photograph the first visible water, note the date, wind direction if known, duration and whether the fireplace was in use. Mark the stain boundary lightly only if doing so will not damage finishes, then photograph change. Record recent roofing, flashing, crown or masonry work. Water can travel before appearing indoors, so describe the observation rather than declaring the entry point.
Ask for diagnosis before sealant
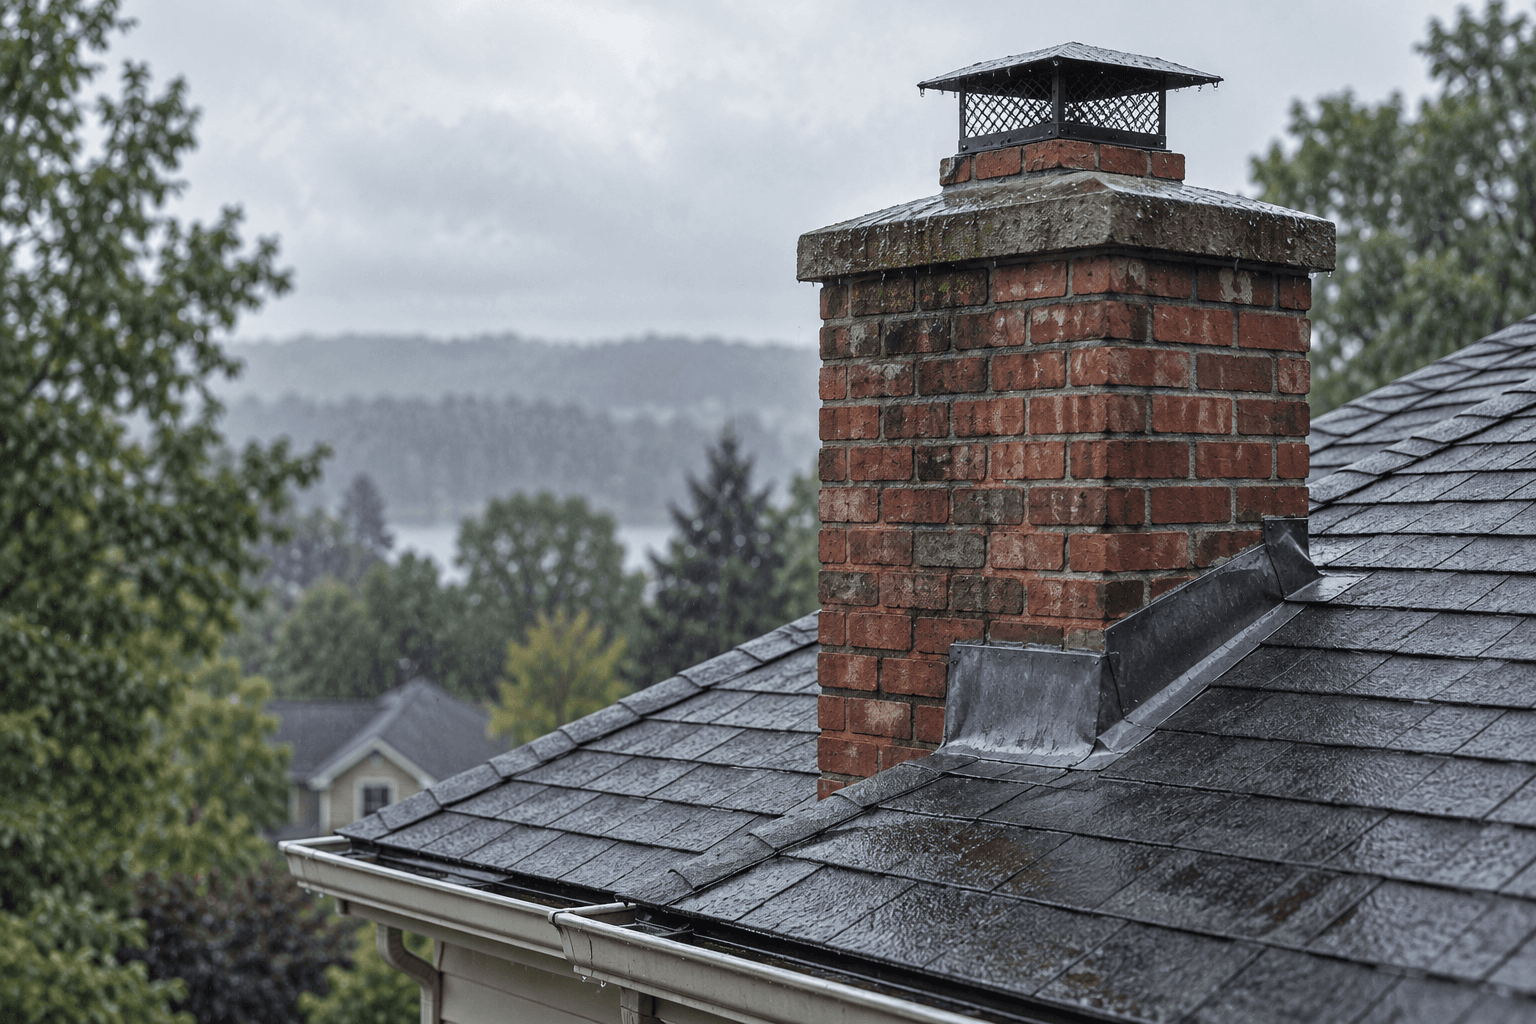
Possible water paths include flashing, crown, cap, chase cover, masonry, roof details or another source. Ask the contractor to identify the observed condition and explain how the proposed repair interrupts that path. A surface coating or bead of sealant may have a legitimate defined use, but it should not substitute for diagnosing failed material or detailing. Request photographs, extent and limitations.
Compare repair scopes component by component
Record whether the proposal addresses flashing, roofing, crown, joints, units, cap, chase cover, interior damage and cleanup. Ask who restores disturbed roofing or finishes, which materials will be used, how access is provided and what warranty applies. Check whether another trade must coordinate. Prices cannot be fairly compared if one bid replaces an assembly and another patches a small visible area.
Verify the result without manufacturing a test
Ask the contractor how completion will be documented and whether a planned water test is appropriate. Do not spray a chimney or enter concealed spaces without professional direction; uncontrolled testing can create damage and misleading results. After ordinary rain, record whether staining changes and report recurrence promptly. Keep the original symptom, diagnosis, authorized scope and completion evidence together.
Prevent the paperwork leak
A vague invoice such as ‘sealed chimney’ will be hard to interpret later. Request the location, component and work performed. Save material or product information when relevant, roof photographs, warranties and applicable permit records. Add the next inspection or monitoring action to the Chimney Passport. Documentation cannot stop water, but it makes recurrence and warranty conversations far more precise.
Put the guide to work
Build a service request with consistent questions, compare chimney contractors, then record the outcome in your maintenance passport. For unfamiliar component names, use the chimney glossary.
Evidence and further reading
These primary and clearly identified industry resources support the maintenance and inspection context. Source links were checked during the editorial review dated above. Our quote worksheets and planning examples are original editorial guidance; local requirements and appliance instructions control for the actual installation.
- Chimney Safety Institute of America: homeowner FAQs
Inspection frequency, cleaning scope and deposit guidance.
- U.S. Fire Administration: heating fire safety
Home heating maintenance and combustible-material precautions.
- CSIA: chimney inspection levels explained
Scope distinctions between inspection levels; this is an older explanatory resource, not a local code determination.
- U.S. Consumer Product Safety Commission: home heating equipment
Carbon-monoxide prevention and yearly professional inspection guidance for fuel-burning heating systems, chimneys, flues and vents.
- USAGov: state consumer protection offices
Official directory for finding state offices that assist with business complaints and consumer issues.
Read our methodology, check the review register, or request a correction.